
How did I do it? How did I manage to run a fully functional WordPress site out of my house? It took me a little longer to figure out than I wanted to. It ended up being an issue with the particular operating system I was playing with.
For my server, I could have gone with a hosting provider, but me being me, I wanted to take a stab at doing it myself. I work in IT so i knew I had the skills to not only create the site, but the know-how to keep it up and running. After getting the basics down, securing the site was the next challenge, I broke my new site a few times and ended up doing a fresh install of everything about three or four times, but I got it!!! Many of the issues I had was using instructions not 100% meant for my particular setup. As for the OS issue I had in the beginning, I used a Raspberry Pi 5 for my server. I was using the latest version of Raspian, which I thought was compatible with many of the instructions for setting up wordpress, but wordpress seems to be happiest running on Ubuntu. I am also quite familiar with Ubuntu and in my opinion is one of the best flavors of Linux. It is extremely stable, runs on just about anything, including older hardware and it is free. There is an image available for running Ubuntu server on the raspberry pi, so getting the bare bones OS up and running was trivial.
This is what I had to do to get to where we are today. So lets dive in…
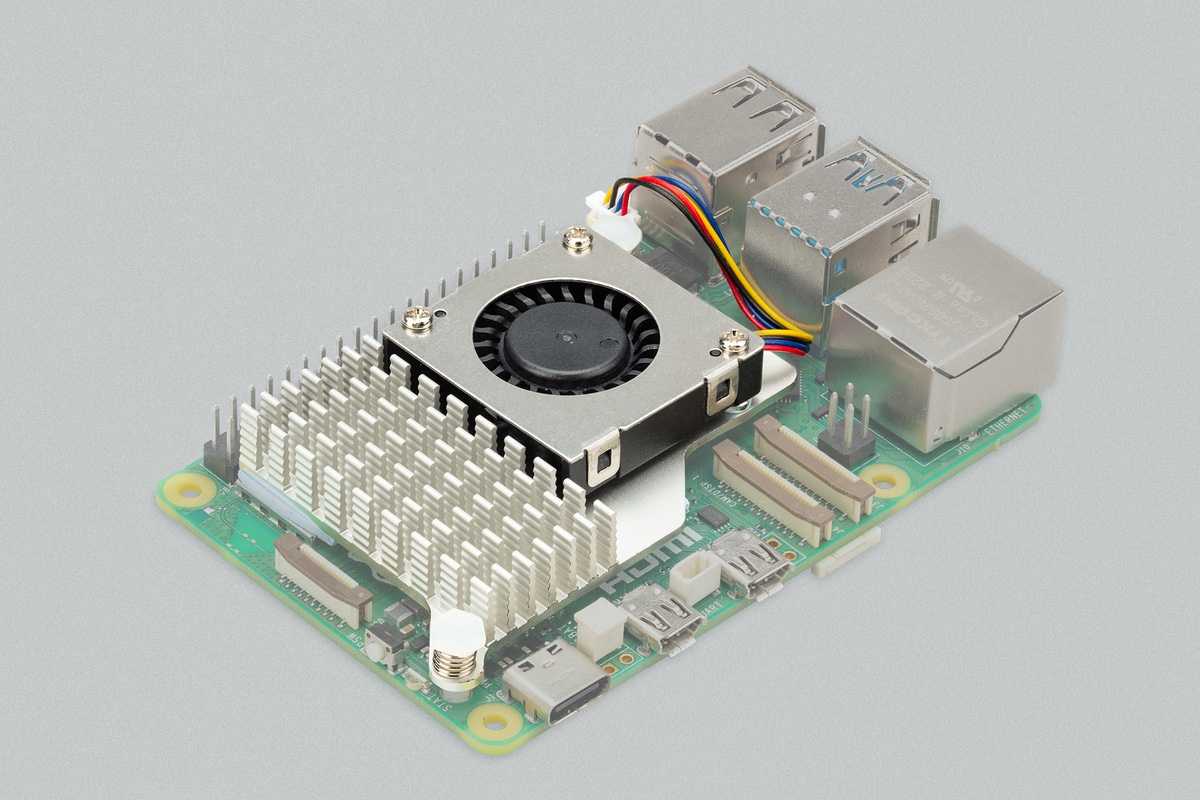
To start, we need hardware. I choose to use a raspberry pi 5 and for storage, A 256gb nvme drive. I bought the following kit which contained everything I needed to get the pi running.
Now because this is a server and this kit comes with a desktop version of Raspberry Pi OS, I wanted to install Ubuntu Server which is a bare bones Linux distro and you install and build what you need from the ground up. The Pi 5 I am using has 8 gigs of ram, so Ubuntu runs absolutely beautifully on this, even the desktop version that came pre-installed was fast. This kit is made for creating a desktop or workstation using the raspberry pi, so it has more than enough grunt to run WordPress. WordPress is extremely light and has very light system requirements, so even that old PC gathering dust in the attic can be used if you don’t want to buy a raspberry pi or another computer.
So after getting the OS flashed and tearing my hair out a few times getting things to kind of work, only to break a few minutes later or have weird things happen and certain functions not work, this is what I did and it resulted in me now having a stable site that is fast and secure.
Get A Domain Name. Because I want my site to be accessible to you, the reader, I needed to purchase a Domain Name. Their are many providers out their, but I decided to go with Cloudflare. My domain, danielmaat.net cost a whopping $12 for the year. Then it was a matter of setting up the records which takes the blog.danielmaat.net and maps it to the IP address of my server. Because I am using a dynamic IP address, I set up a dynamic DNS updater that will update my dns records if needed. A valid domain name is also required to set up ssl so your site is secure and does not throw any “this site is insecure” warnings.
Installation. Now that I got the domain set up, its time to set up the server. At the time of writing this, I used Ubuntu 22.04.1 LTS (Long Term Support) and I am basing my instructions off of that. Other versions should work just fine, same as if you are using an old desktop computer or server, all these commands should work. SSH into your server, or if your server is connected to a monitor, you can use the terminal with a keyboard. You may need to log into your router to find your server’s IP address to SSH into it.
Step 1. Update your system, even if it is a fresh install, there most likely will be updates.
sudo apt update
sudo apt update
Step 2. Install everything WordPress needs to function, this will install Apache2, PHP, MySQL and all other requirements for wordpress.
sudo apt install apache2 ghostscript libapache2-mod-php mysql-server php php-bcmath php-curl php-imagick php-intl php-json php-mbstring php-mysql php-xml php-zipStep 3. Create the directories and set ownership of these directories to www-data. www-data is where the apache web server looks for websites. This will also download the latest version of WordPress.
sudo mkdir -p /srv/www
sudo chown www-data: /srv/www
curl https://wordpress.org/latest.tar.gz | sudo -u www-data tar zx -C /srv/www
Step 4. Now we need to tell Apache where the WordPress directory is and to activate it as a website. To do this, we need to create a config file.
sudo nano /etc/apache2/sites-available/wordpress.confIn this config file, put the following into the file.
<VirtualHost *:80>
    DocumentRoot /srv/www/wordpress
    <Directory /srv/www/wordpress>
        Options FollowSymLinks
        AllowOverride Limit Options FileInfo
        DirectoryIndex index.php
        Require all granted
    </Directory>
    <Directory /srv/www/wordpress/wp-content>
        Options FollowSymLinks
        Require all granted
    </Directory>
</VirtualHost>
Now save the file by pressing Ctrl + X and then press Y
Step 5. Now we need to disable the default Apache “It Works” page and activate your new word press site. We then restart Apache so it can read the config file we just created.
sudo a2ensite wordpress
sudo a2enmod rewrite
sudo a2dissite 000-default
sudo service apache2 reload
Step 6. WordPress uses a MySQL database to store all of your site’s content and settings as well as other information. You can use an external MySQL database server, but in many cases, you will be just fine running it on the same server as your WordPress site. This also simplifies the installation and setup. By default MySQL restricts access to localhost meaning only the system MySQL server is installed on has access to your databases. In this case, we are using MySQL on localhost. It is best practice to change the password to something besides “your-password” You can change the username as well, but make sure to remember the MySQL username and password as you will need these later.
sudo mysql -u root
mysql> CREATE DATABASE wordpress;
mysql> CREATE USER wordpress@localhost IDENTIFIED BY '<your-password>';
mysql> GRANT SELECT,INSERT,UPDATE,DELETE,CREATE,DROP,ALTER
    -> ON wordpress.*
    -> TO wordpress@localhost;
mysql> FLUSH PRIVILEGES;
mysql> quit
Now enable MySQL server
sudo service mysql startStep 7. Now we need to tell WordPress how to connect to it’s database. These settings are stored in wp-config.php. We will need to copy the example wp-config and modify it so it works with your setup. Remember the SQL database username and password created in the last step? You will need them now.
Copy the example config to the wp-config.
sudo -u www-data cp /srv/www/wordpress/wp-config-sample.php /srv/www/wordpress/wp-config.phpNext, set the database credentials in the configuration file (do not replace database_name_here or username_here in the commands below. Do replace <your-password> with your database password.
sudo -u www-data sed -i 's/database_name_here/wordpress/' /srv/www/wordpress/wp-config.php
sudo -u www-data sed -i 's/username_here/wordpress/' /srv/www/wordpress/wp-config.php
sudo -u www-data sed -i 's/password_here/<your-password>/' /srv/www/wordpress/wp-config.php
Now open the newly create wp-config.php file.
sudo -u www-data nano /srv/www/wordpress/wp-config.phpFind the following lines and delete from the file.
define( 'AUTH_KEY',         'put your unique phrase here' );
define( 'SECURE_AUTH_KEY',  'put your unique phrase here' );
define( 'LOGGED_IN_KEY',    'put your unique phrase here' );
define( 'NONCE_KEY',        'put your unique phrase here' );
define( 'AUTH_SALT',        'put your unique phrase here' );
define( 'SECURE_AUTH_SALT', 'put your unique phrase here' );
define( 'LOGGED_IN_SALT',   'put your unique phrase here' );
define( 'NONCE_SALT',       'put your unique phrase here' );
Now visit https://api.wordpress.org/secret-key/1.1/salt/ and copy the results into the wp-config.php Now close the file by pressing Ctrl X and then Y and Enter.
Step 8. Now visit http://your_server_ip/ and follow the instructions. Make sure to set a password that is different than you MySQL password and the password you use to log into the console of your server. You should now see your dashboard and be able to create posts and pages.
Setting Up SSL (Optional But Highly Recommended)
SSL encrypts communication between your computer and your server. If you do not use this, someone could steal you passwords to your site and gain unauthorized access which is not cool! I used Certbot and it is as easy as running a few commands on your server.
sudo snap install --classic certbotNow we need to tell our system certbot is installed.
sudo ln -s /snap/bin/certbot /usr/bin/certbotNow we run the Certbot setup script.
sudo certbot --apacheFollow the instructions. You will need to enter your server’s domain name as well as your e-mail address. Certbot will then download your certificate from letsencrypt, install it on your site and configure Apache to use https instead of the insecure http. After running this, it took a few minutes before I was able to access my site. You will need to change your WordPress site url to HTTPS as well. so instead of it saying http://your_site_name, it will be https://your_site_name.
Step 9. Now we need to allow your site to be accessible from the internet. All routers are different, but you will need to port forward ports 80 and 443 to your server’s IP address. You may need to enable NAT reflection in some cases. Just a note, some ISPs may block these ports on residential connections, and if you need help on how to port forward, you will have to look at your router’s documentation. Another note to consider, avoid using WiFi to connect your server to the internet, a wired connection will be faster and more stable, especially if your website handles a lot of traffic.
Step 10. Have Fun!!!
I used the following references in creating these instructions.
https://ubuntu.com/tutorials/install-and-configure-wordpress#7-configure-wordpress

https://certbot.eff.org/instructions?ws=apache&os=snap